Whether you are a fan of manga, an illustrator or a scrapbooker… Graph’it continues to surprise you and offers you a new product!
Create graphic effects and shadows easily with the Graph’it Transfer screen stones
A screen makes it possible to bring dynamism to a drawing: an atmosphere, a background or a textile motif for example!

A tradition from Japan
This tool is widely used in Japan by mangakas to create professional-looking scenarios. It is also a faster technique than if you had to draw the pattern!
…. But until then, the technique of applying the wefts was very tedious and was only for experienced professional draftsmen: the wefts were usually made of plastic adhesive film to be cut and glued to the drawing, which required precision and great technique.
Graph’it simplifies traditional screens, since Graph’it Transfer screen stones are based on the decal principle!
![]()
How to apply the pattern ?
Just scratch on the screen to transfer the pattern! An easy and quick application method for a perfect professional result!
Whether you are a pro, an hobbyist or just curious, you will be won over!
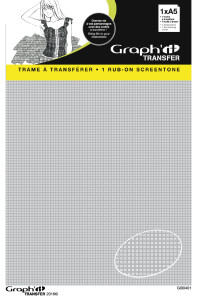
The Graph’it Transfer range
– A choice of 8 designs in A5 format:
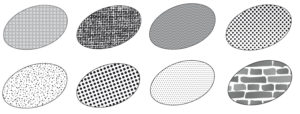
– The + of Graph’it Transfer screen stones:
- Reusable: 1 screen can be used for several drawings as long as there are still patterns to be transferred
- Easy to apply: just scratch and follow the instructions below
- Compatible with alcohol markers
Instructions for use:
1. Choose a line drawing, stamped or photocopied
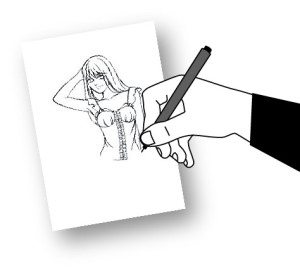
2. To apply the screen, place the frame on your drawing. The film of the screen stone being transparent, it allows to see the drawing through.
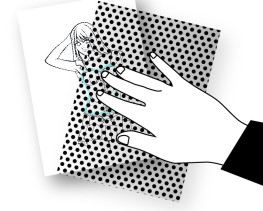
3. Using a ballpoint pen, delimit the surface to be transferred, then rub to the pen all the surface on which you want to transfer the pattern. The screen then becomes transparent, indicating that the pattern is transferred to the paper.
Tip!
If your screen stone has overflowed from the drawing, you can remove the excess pattern using the Blender Graph’it (colourless marker).
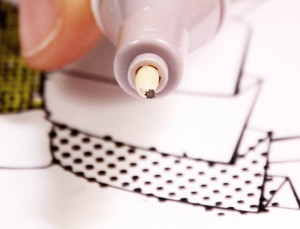
4. Fix the pattern permanently by polishing the weft transferred to the paper with the browning sheet.
Place the matt side of the sheet against the transferred pattern and rub firmly against the surface of the pattern using an instrument with a rounded tip (e. g. the rounded tip of the pen).
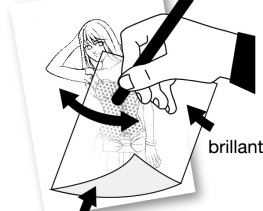
5. Colour your drawing as you wish using alcohol markers or water markers!
Tip: You can color your drawing before or after the screen stone is laid. However, if you have just added color, wait a few minutes before transferring the pattern. It will not be able to adhere properly to a damp surface!
6. That’s all! Here is your finished drawing! 🙂

Now it’s up to you to create!
Feel free to share your drawings on the Facebook page : Facebook GRAPH’IT
![]()
Find some of the artists’ creations made with the Graph’it Transfer Tracks:
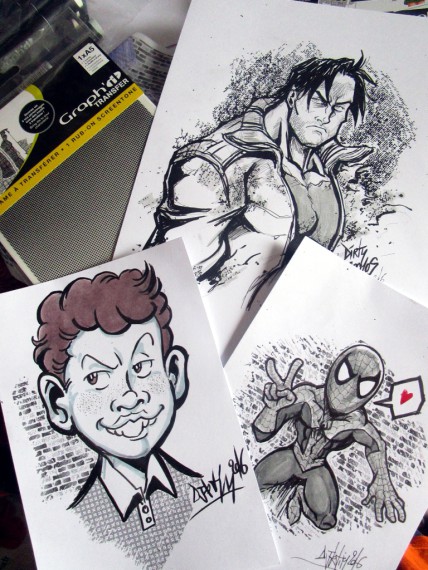
Drawings made by Djiguito: Click to access his Facebook page.
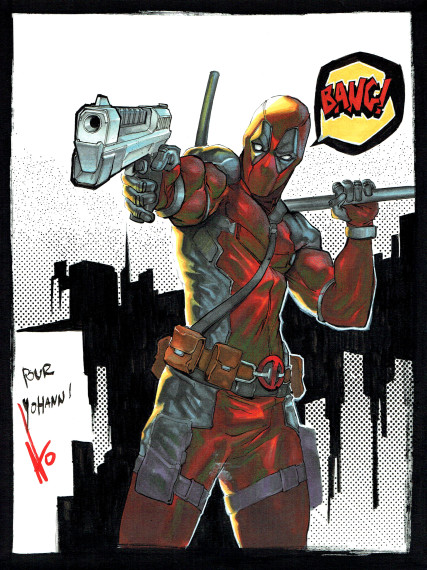
Made by Ntocha : Click to access his Facebook page.

Made by Virginie Siveton : Click to access her Facebook page.

4 comments
Bonjour, existe-t’il des trames Graph’it maker de différentes couleurs ? Je recherche du rouge et du blanc… Vous remerciant par avance de votre réponse,
Gabrielle
Bonjour,
Il n’existe que des trames noires. Pour obtenir le motif en couleur, il suffit de colorier la zone sur laquelle vous venez d’imprimer le motif.
L
Bonjour,
Vos trames sont-elles compatibles avec des feutres à base d’encre de Chine pigmentée ?
Merci d’avance,
A. Sambron
Bonjour, vous pouvez effectivement utiliser les trames de transfert avec des marqueurs à base d’encre de chine. Veillez à utiliser la trame après application et séchage de l’encre puis, fixez définitivement le motif en polissant la trame transférée sur le papier à l’aide de la feuille à brunir.
By submitting a comment you grant Graph'it Marker a perpetual license to reproduce your words and name/web site in attribution. Inappropriate and irrelevant comments will be removed at an admin’s discretion. Your email is used for verification purposes only, it will never be shared.