By Antoine Dacheville, guest artist
Hello everyone. I’m going to show you, with this photo tutorial, how to ink an illustration whit GRAPH’IT Liners.
Inking is a technique known to all. It can be an essential point for the realization of your drawing. However, it is not just a question of going back over the lines you have already applied with a pencil. Inking allows you to highlight particular areas on your drawing and therefore requires a clean and efficient pencil.
So we’re going to start with a one-armed drawing, in the comic book/cartoon style.
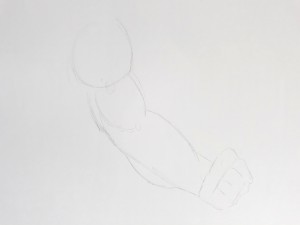
Step 1
So I start by making a quick sketch of the arm, with a pencil, in order to position the different parts. Use a thin, light line to make it easy to erase. Feel free to delete the “excess” lines, as I was able to do below.
Step 2
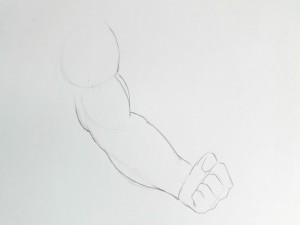
Once my sketch has been placed, I can refine the external features of the arm and hands. This will give you a more accurate view of your drawing.
Step 3
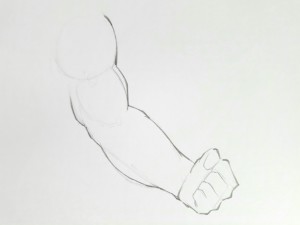
Then I start to give volume to my external lines. This essential point allows you to bring a beginning of perspective to your drawing. So I deliberately make some features bigger.
Step 4
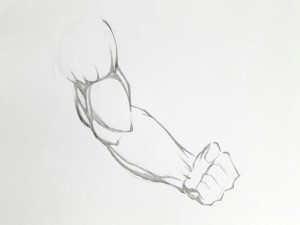
It is time to place the muscles properly speaking. I opt for a well defined shade on the shoulder, biceps and triceps as well as the forearm. I also give reflection to the palm of the hand. Take your time in this step, as good shading will make it easier for you to draw the details afterwards.
Step 5
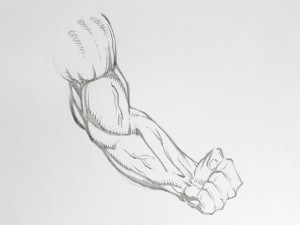
I can now draw the different details on each of the areas of the arm. In accordance with the comic/cartoon style, I adopt the technique of hatching to create a relief. I also draw some veins to fill in the areas without details. This gives the impression of a more complete technical drawing. Concerning the shoulder, I decide to draw the deltoids with thin crosses. The lines must be direct and dry and smaller and smaller (always keep this relief optic).
Step 6
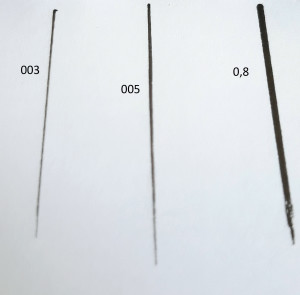
It’s time to choose my GRAPH’IT liners. Among the multitude of choices, you might ask : how do I decide which mine size is best suited to my type of design? The answer is simple. Start from a base of three liners according to the following “rule”: the smaller your drawing is, the finer your choice of mine should be, and vice versa. Everything obviously depends on the style of your drawing. In my case, I chose to use the GRAPH’ITt liners 003, 0.05 and 0.8. So I have a thick, thin and ultra thin liner.
Step 7
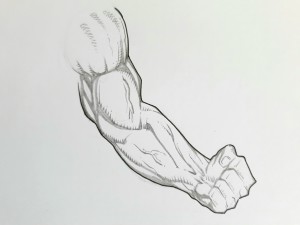
I start by inking the outer contour of my arm with the 0.8
Step 8
Then, using the 003 liner, I ink the shadows and thickest lines of my drawing.
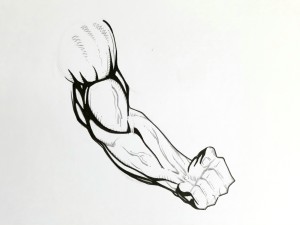
A little tip: leave a few lines uninked to add details!
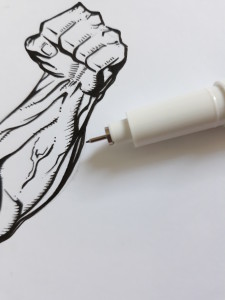
If you prefer to ink it all, you can always come back with a blank from the GRAPH’IT Shake range.
Step 9
I now have to refine the lines by taking back the liner 0.2. I take this opportunity to ink additional elements, especially at the hand level (example: the phalanges).
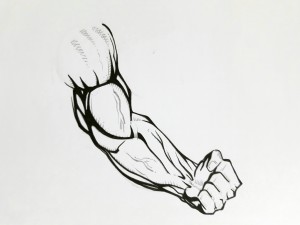
Step 10
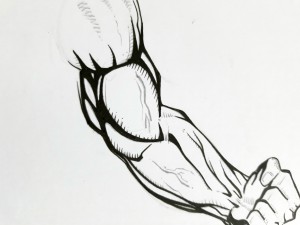
I then use the 0.05 liner to detail the shoulder, biceps, forearm and hand. A simple technique you can use is duplication. Simply add to your line at 0.05 another line up to about half of it with the 0.2 to give a slight fade. Here is the example in the photo:
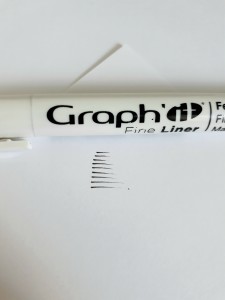
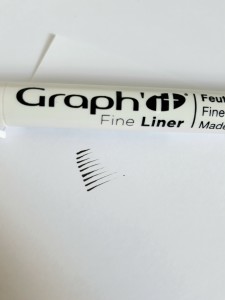
You will obtain this: before
and after :
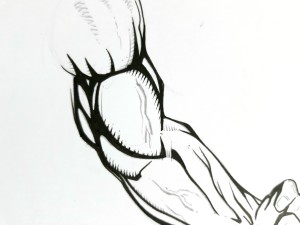
And that’s it, the arm is now finished with shaded areas and details.
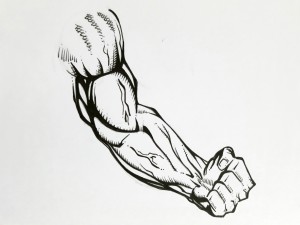
So to sum up, inking is a point that can be essential and requires clean and efficient upstream pencil work. The different mine sizes of the GRAPH’IT Liners will allow you to have a wide choice and to accompany you on all types of drawings, whether comics, manga or realistic. Remember to take your time during these different steps. I hope this has been useful to you and I look forward to seeing you soon for a new tutorial with GRAPH’IT Markers!
To discover other works by the artist Antoine Dacheville:
Instagram : https://www.instagram.com/artuniverse6/

No comments yet. You should be kind and add one!
By submitting a comment you grant Graph'it Marker a perpetual license to reproduce your words and name/web site in attribution. Inappropriate and irrelevant comments will be removed at an admin’s discretion. Your email is used for verification purposes only, it will never be shared.